Back to How-tos
Audits with Toolbox
How do I manage Auditing in Toolbox
Tags:
This information is outdated. Please go here for current information on managing audits in QSToolbox
Toolbox doesn't have a dedicated module just for audits. Instead, several modules cover the whole audit process - from scheduling, planning, reporting, all the way through to processing and closing out audit findings.
Here's how it works in detail:
Step 1: Create your Internal Audit Schedule
The exact approach to creating your Audit Schedule depends on which Toolbox modules you have and how regularly you conduct internal audits.
Option A: Use the 'Records' module
Add a new 'Schedule' under the 'Records' tab in Toolbox and call it something like "Internal Audits". All of your internal audit reports will go in as 'Records'.
If you conduct Internal Audits on a regular basis (e.g. quarterly, monthly, annual) with one person as the lead auditor, then you can use the date repeat fields in the 'Schedule' to set your regular audit dates and assign the schedule to your auditor. Put details of the areas you plan to audit in the 'Schedule' description. This is more likely to suit a smaller business with a simple audit schedule.
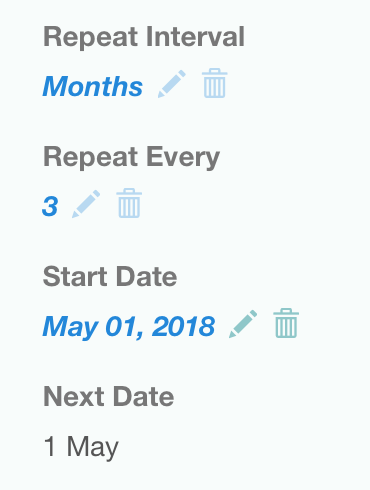
If you conduct Internal audits on a varying schedule, with lots of different auditors, or you want to include a lot of detailed planning for each audit, use the sub-tasks tab and create a separate task for each audit.
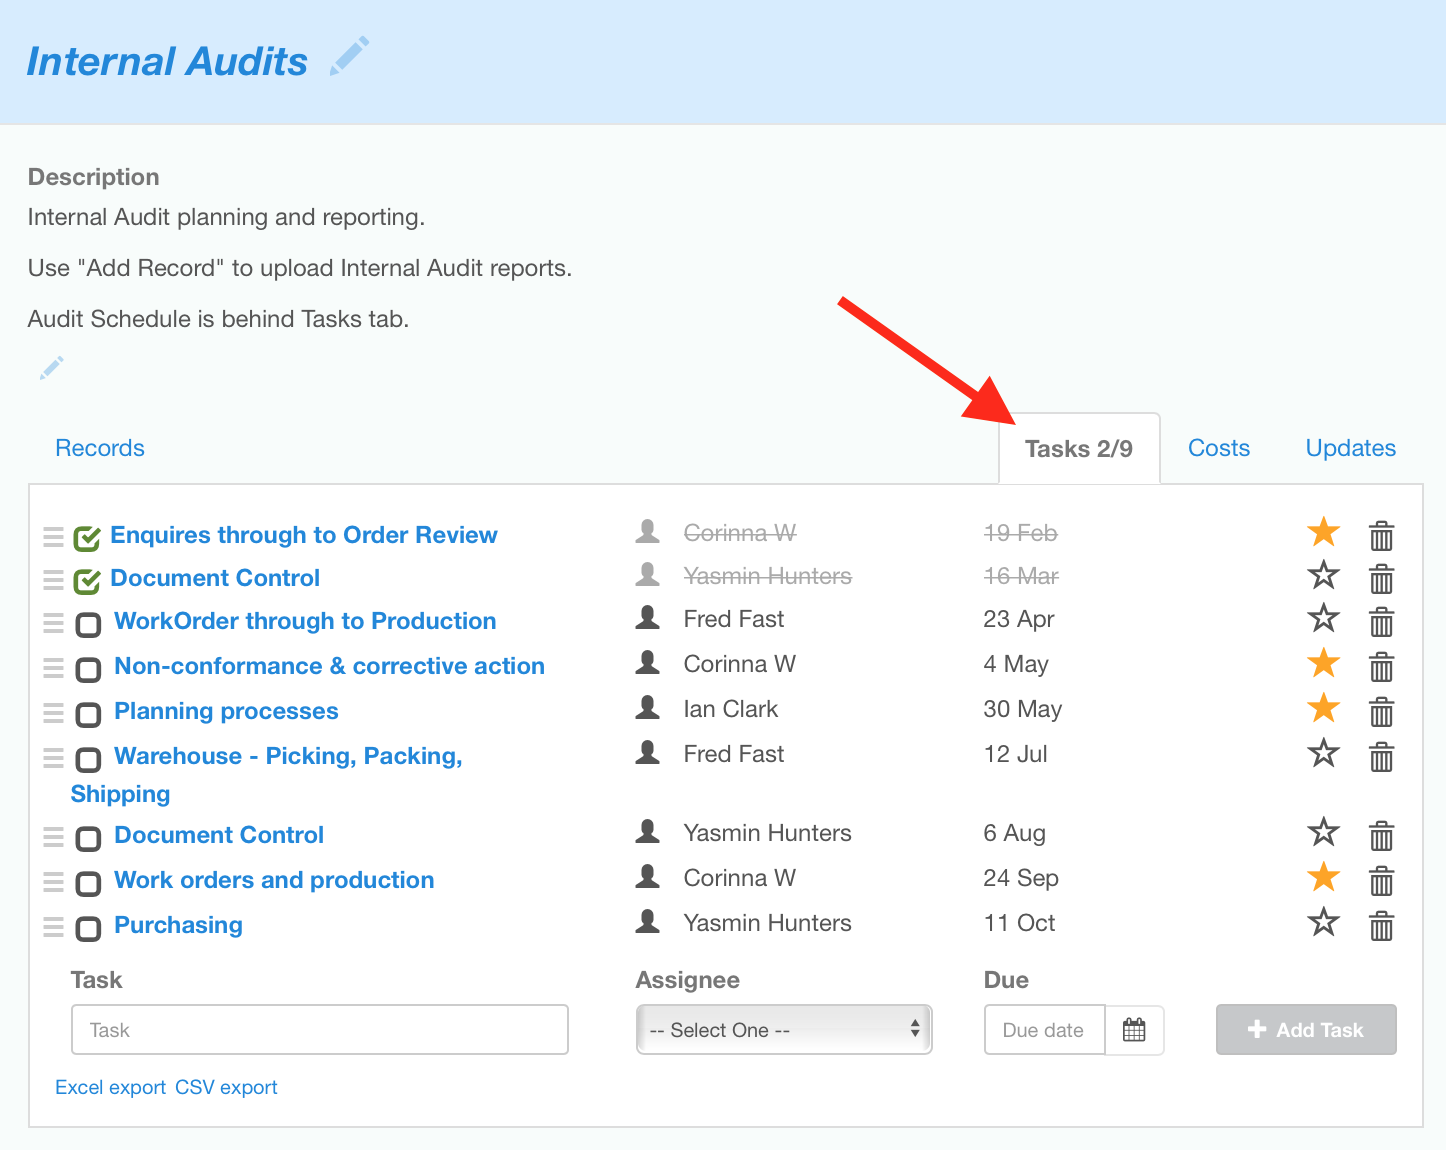
Give each task a descriptive title to indicate the area that will be audited, assign the task to the auditor, and set the task due date to the scheduled audit date. Click on the task title to open it up and add detailed audit planning information using the description field and file attachments.
Option B: When you don't have the 'Records' module, use the 'Tasks' module.
Create an Folder called 'Audit Schedule' in the Tasks module and add a task for each audit. Assign the task to the auditor, and set the due date to the scheduled audit date.
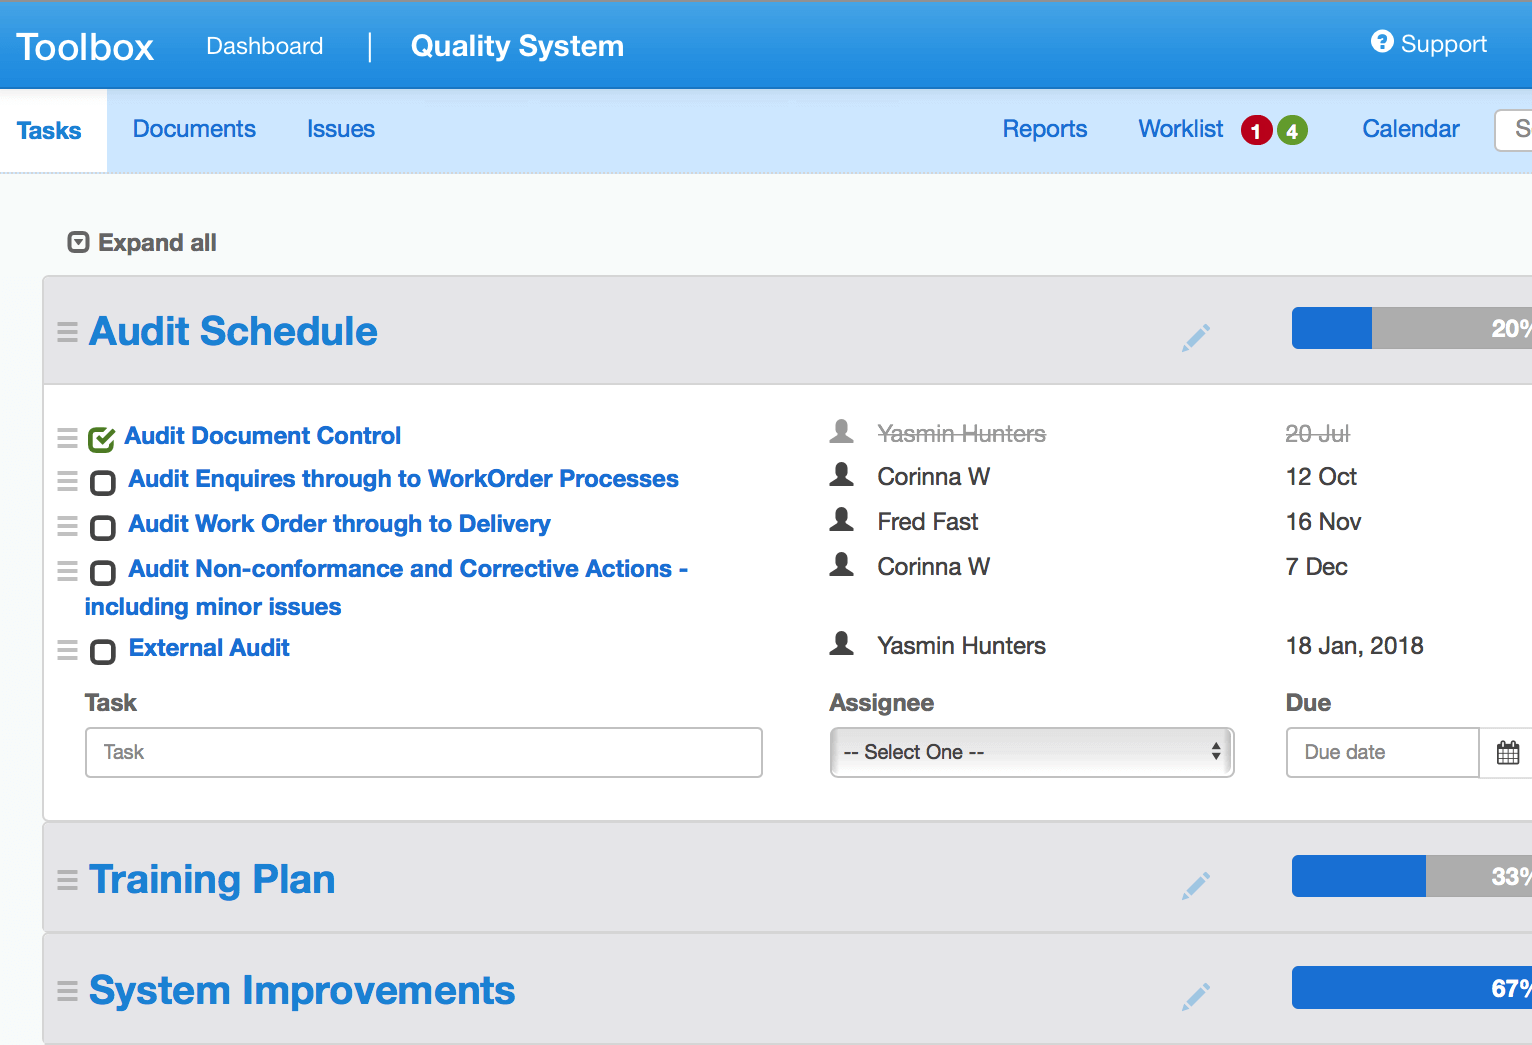
Step 2: Plan each audit
Add details to the task and upload audit checklists and/or link to related process documentation stored in the Documents Module .
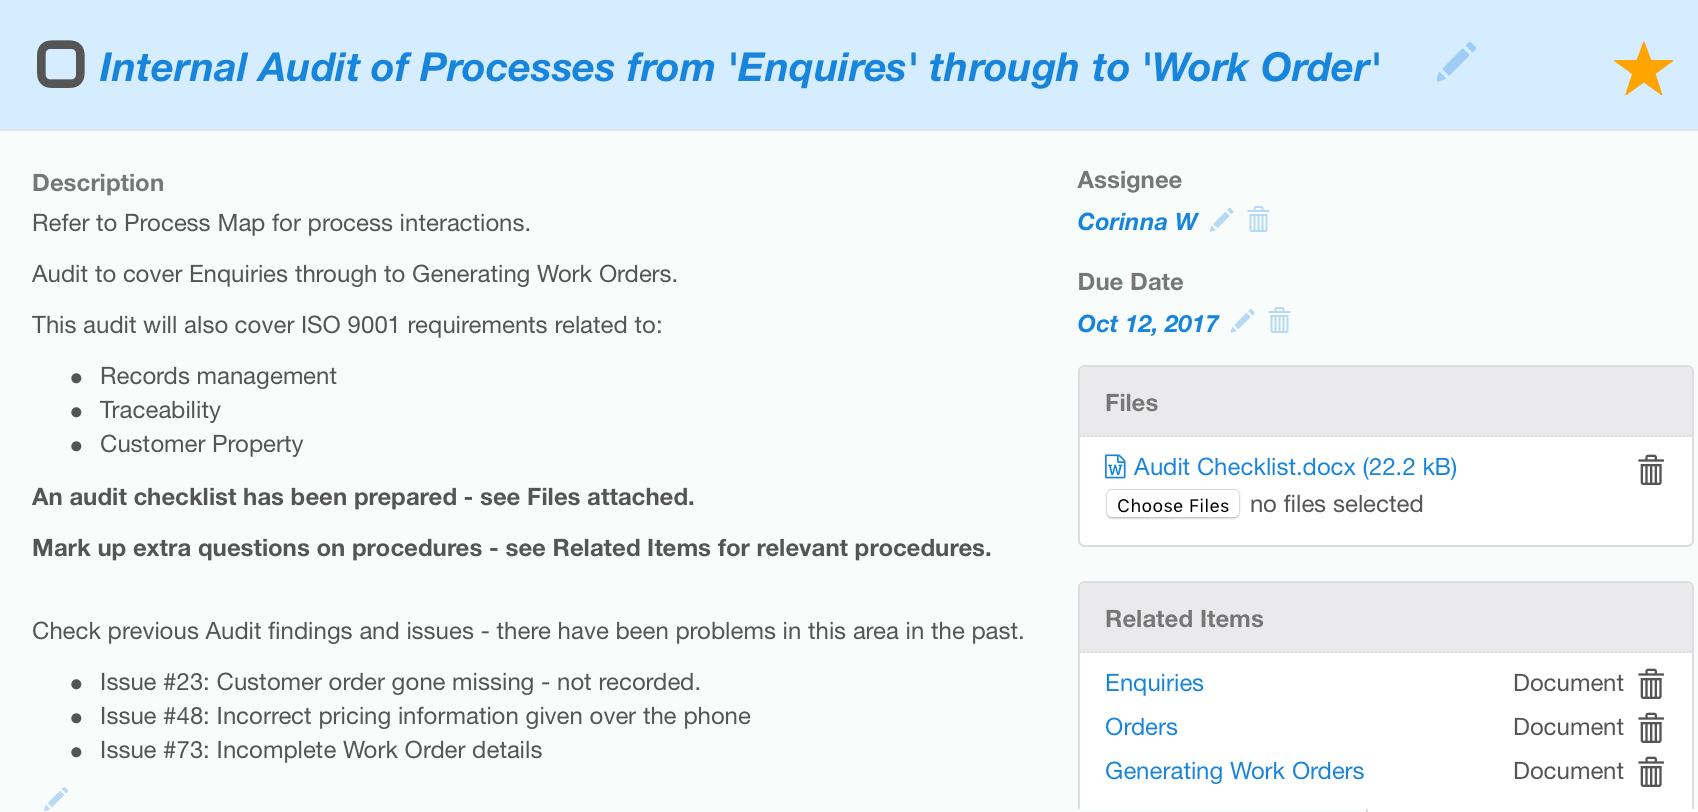
Step 3: Conduct the Audit and Record your Audit findings
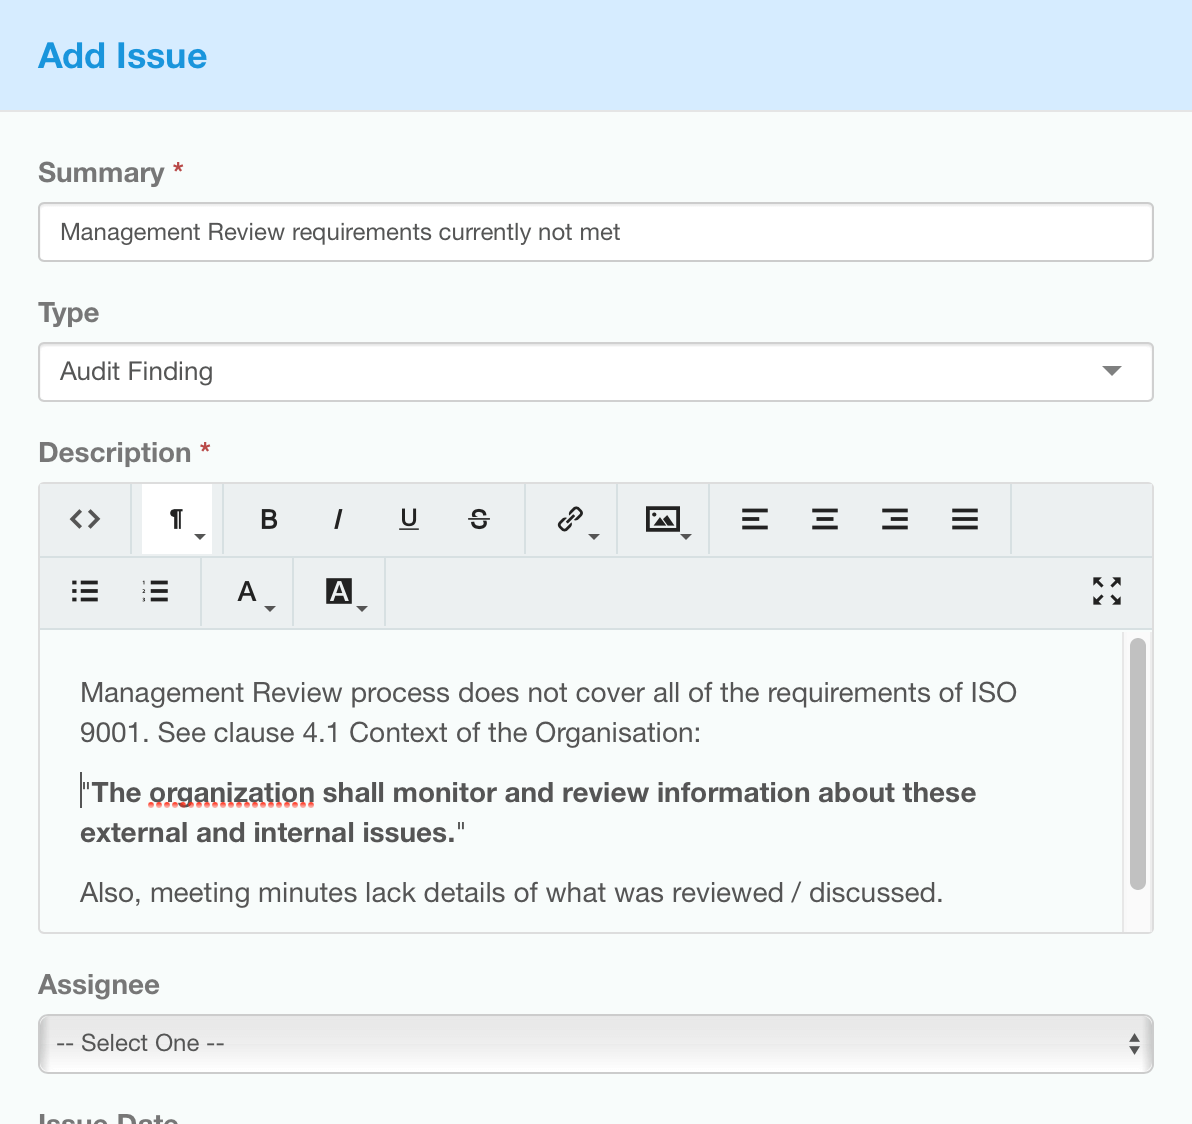
During the audit, record your audit findings in the Issues module.
Step 4: Upload the Audit report
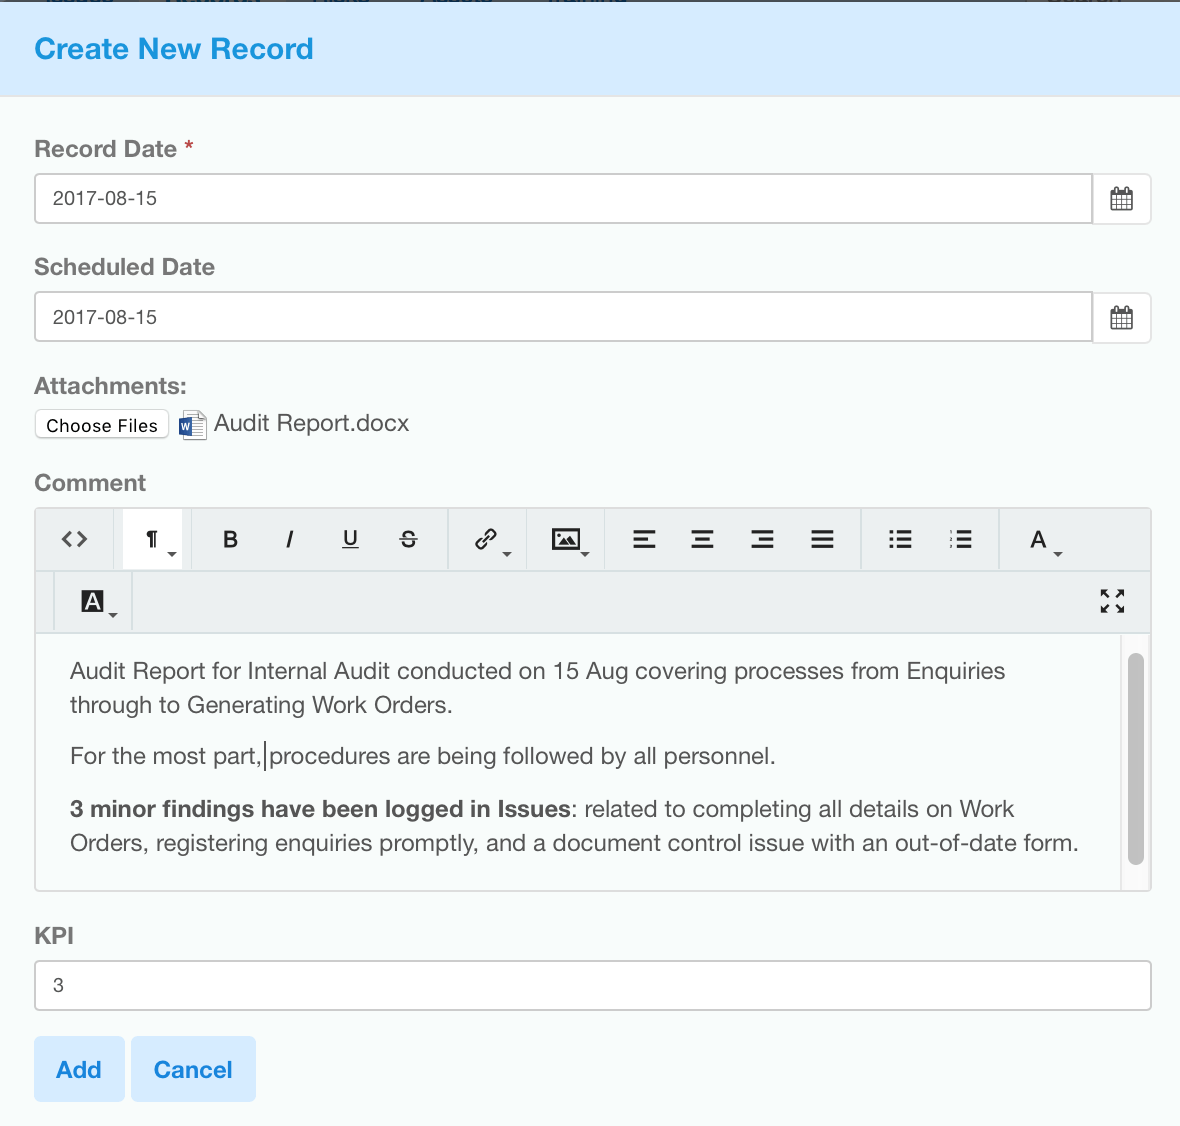
Upload the final audit report into the Records module.
If you don't have Records, load your audit report into the Documents module.
Step 5+: ... and get busy closing out those Issues!
That's back to the Issues module to record your corrective actions in processing the Issue