Back to Documents
Add a Document - step 2
Add the content of your controlled Document.
After adding your document a second screen will now open to the Draft tab of the document. This is where you add (and edit) the actual content of the document:
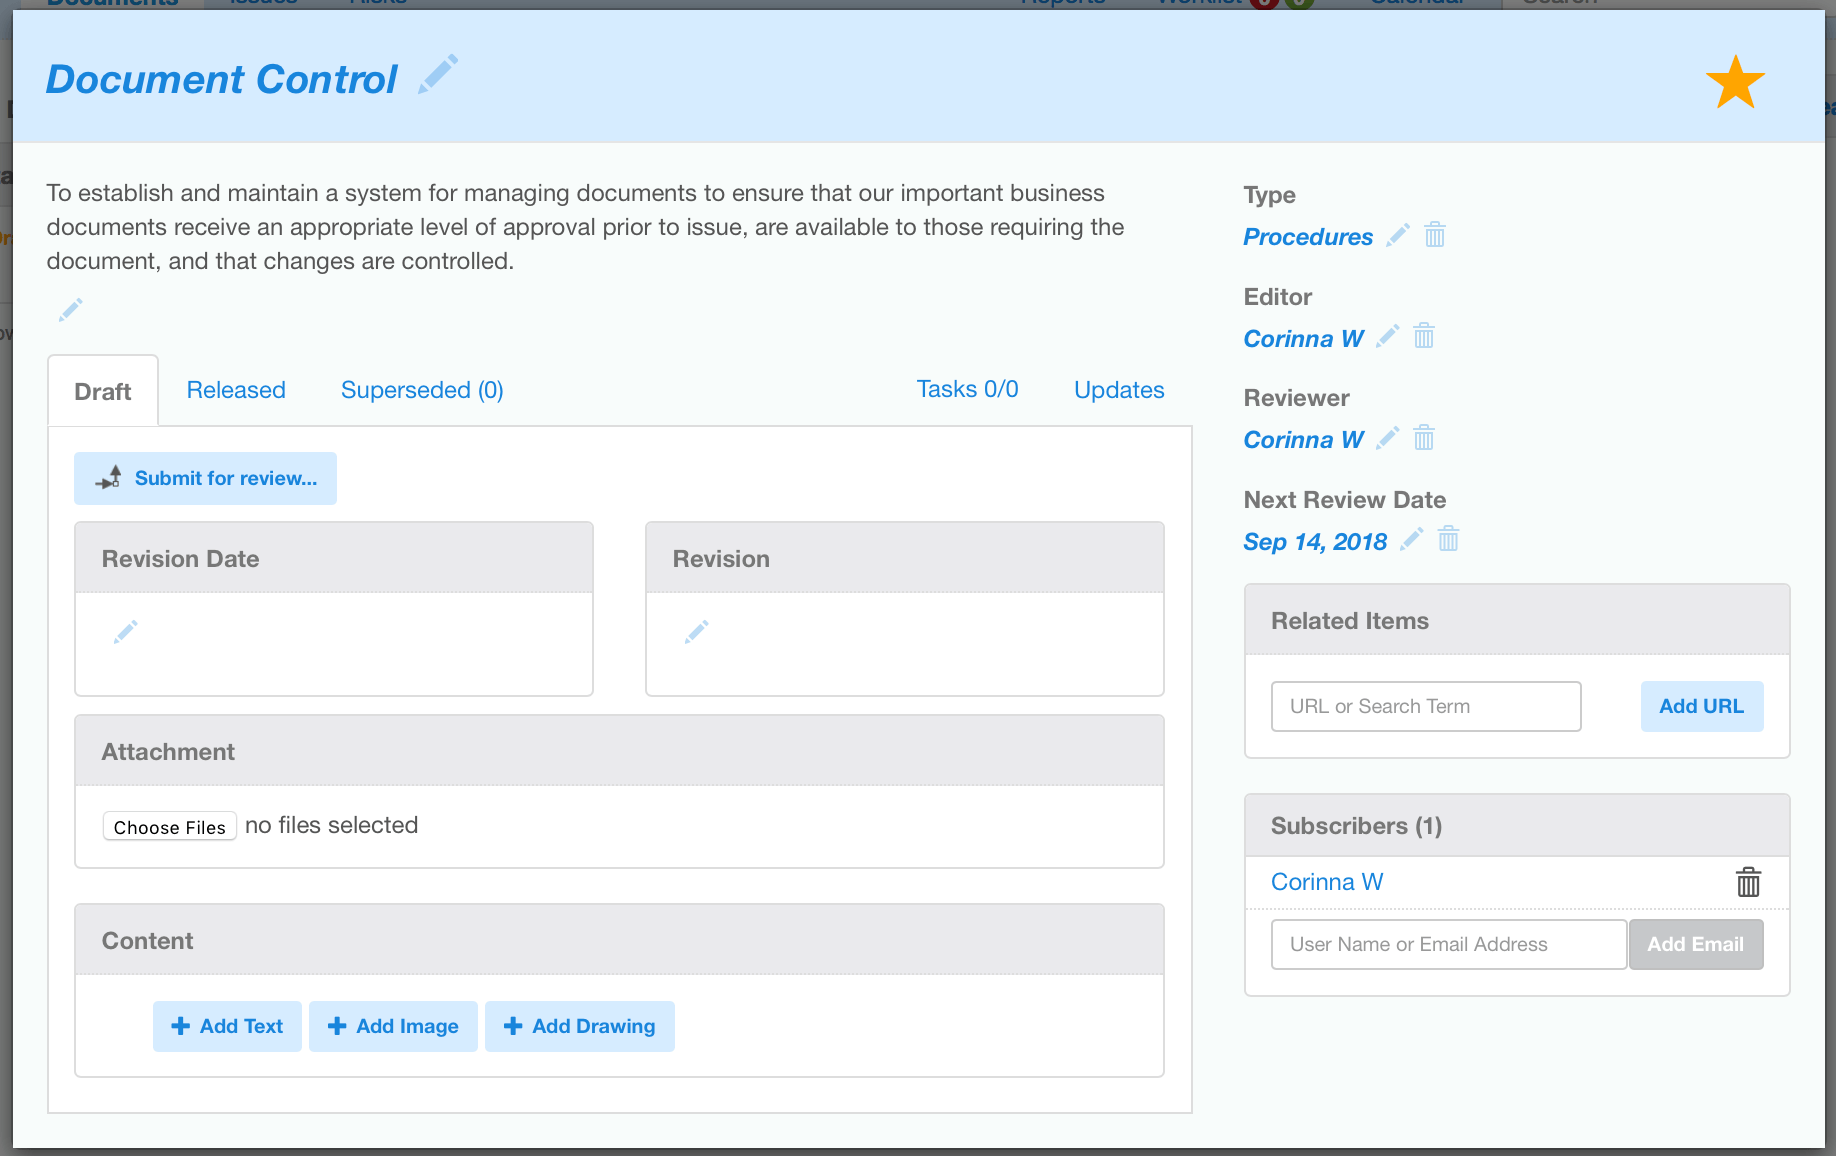
Revision information
There are two fields to collect the revision information for this version of the document. One for the revision date (when it was last changed) and another field, "Revision", for other methods of tracking the version, e.g., v1, v2, Rev.A, Issue. B, v3.2.8, Q2-2017, etc.
For internal documents, you can use either field, or both - depending on the system preferred by your organisation. In most cases, using just the revision date is sufficient for system documentation. Controlling drawings or plans might need to use a numbering system, since these are more likely to change more than once a day.
For external documents, you will need to follow whatever version tracking information is used on the document itself.
At least one of these fields must be filled in before you can submit a document for release (see workflow )
Content OR Attachment
You have two choices for the content of your Document. You can either build the document online (under 'content') OR upload a pre-existing document as a file.
If you have pre-existing documentation - just upload the file as an attachment into Toolbox. The file will be stored as-is. Toolbox doesn't modify the file in any way so you will need to make sure it includes necessary document control information.
You also have the option of building your document directly in Toolbox. In the Content area you can add multiple text, image, and drawing/flowchart sections. End users can view the content online without having to download a file, so it's better for mobile devices. However, you have less control over the presentation.
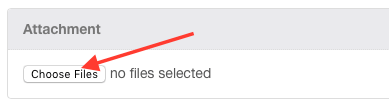
(1) Upload File Attachment
In the Attachment section, click on the "choose files" button. A browser window will open for you to choose the file on your computer. After you select the file, it will immediately begin to upload.
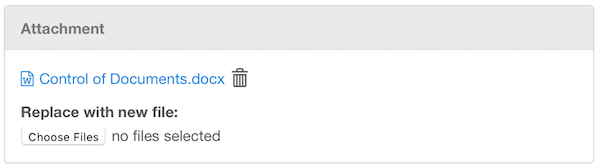
Once the upload has completed, the filename will be shown as a link. If you chose the wrong file or just need to replace it with an updated version, click on the "choose files" button under "Replace with a new file" and select a different file to upload.
- ANY file format is OK, e.g., MS Word, Excel, Visio, PDF, CAD, ...
- Each controlled document can only have one file
- Members will have to download the file to view it
- To make changes, you need to download the file, edit it in the original application, save, and then re-upload the updated document.
or (2) Build the Document Content online
- Content can consist of multiple sections of text, images, drawings/flowcharts
- Members can view your document in their browser
- Editors can edit the document in their browser
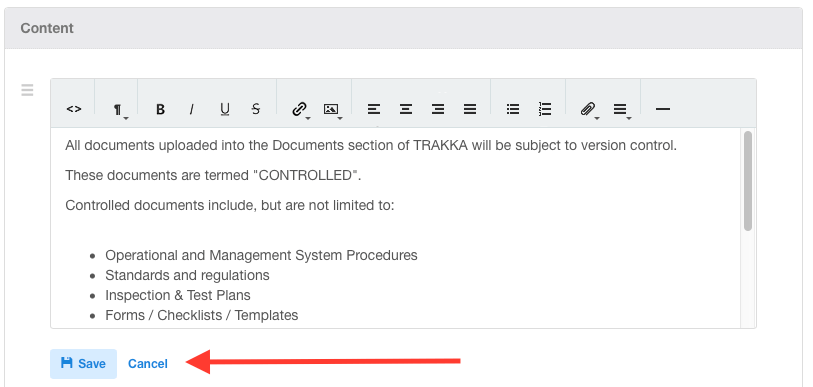
Documents can assembled from Image, Text and Drawing sections, as shown below :
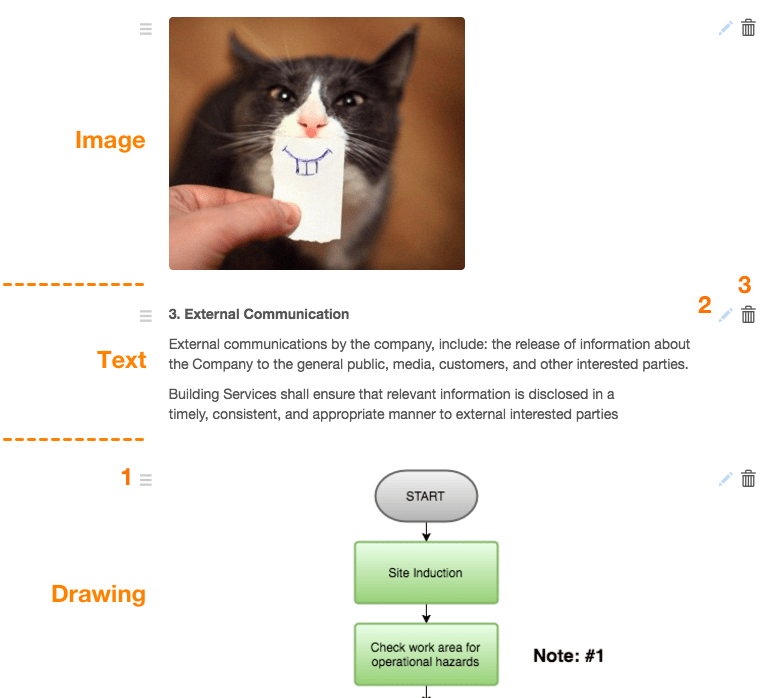
- (1) Drag the bars to reorder sections
- (2) Click the crayon icon to edit the section
- (3) Click the trash can to delete the section
Remember to click on “Save” as you add each section.
The Draft is hidden until it is approved and released
Project Members can't see your draft document (Project Manager users can). You can leave an unfinished draft and come back later to continue working on it, as many times as you need, until it is ready.
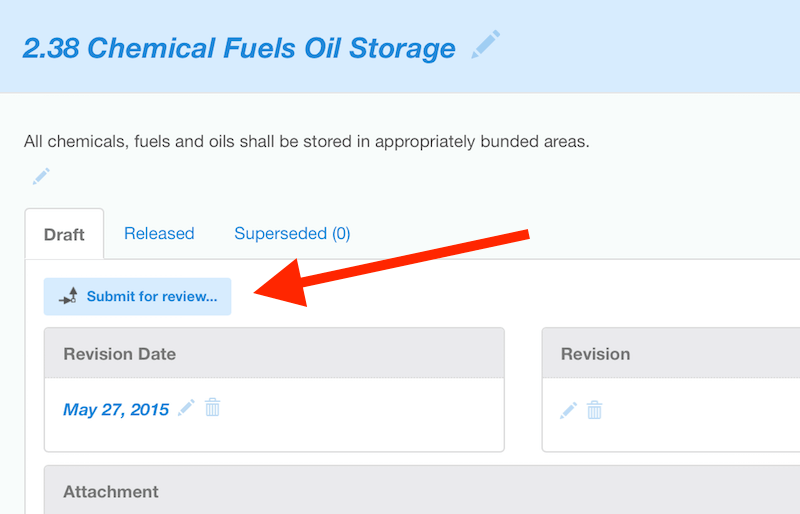
Documents must go through an approval process before they are released for use by other team members.
If you have finished editing and the draft is ready for review, click on the 'submit for review' button at the top of the draft tab to send it to your Reviewer.
While the document is "Pending" review, you can't make any changes. If you need to fix something. retract it back to "Draft" first.
More on Document Workflow in Toolbox